This blog is about toning down bleach blonde hair, while keeping hold of those natural highlights, to create a multi-tonal effect that looks really natural.
1. Step 1 - Buying the hair dye
I was really impressed with this dye, mostly because - as you will see below - the colour on the box is almost identical to how it came out on my head! The colour is 7.3 Florida / Honey Blonde and is by L'oreal Preference. It said you can leave on for 30 minutes maximum, but I didn't exceed 20 minutes because my hair was so light I knew it would grab colour easily.
2. Step 2 - Prepping sections
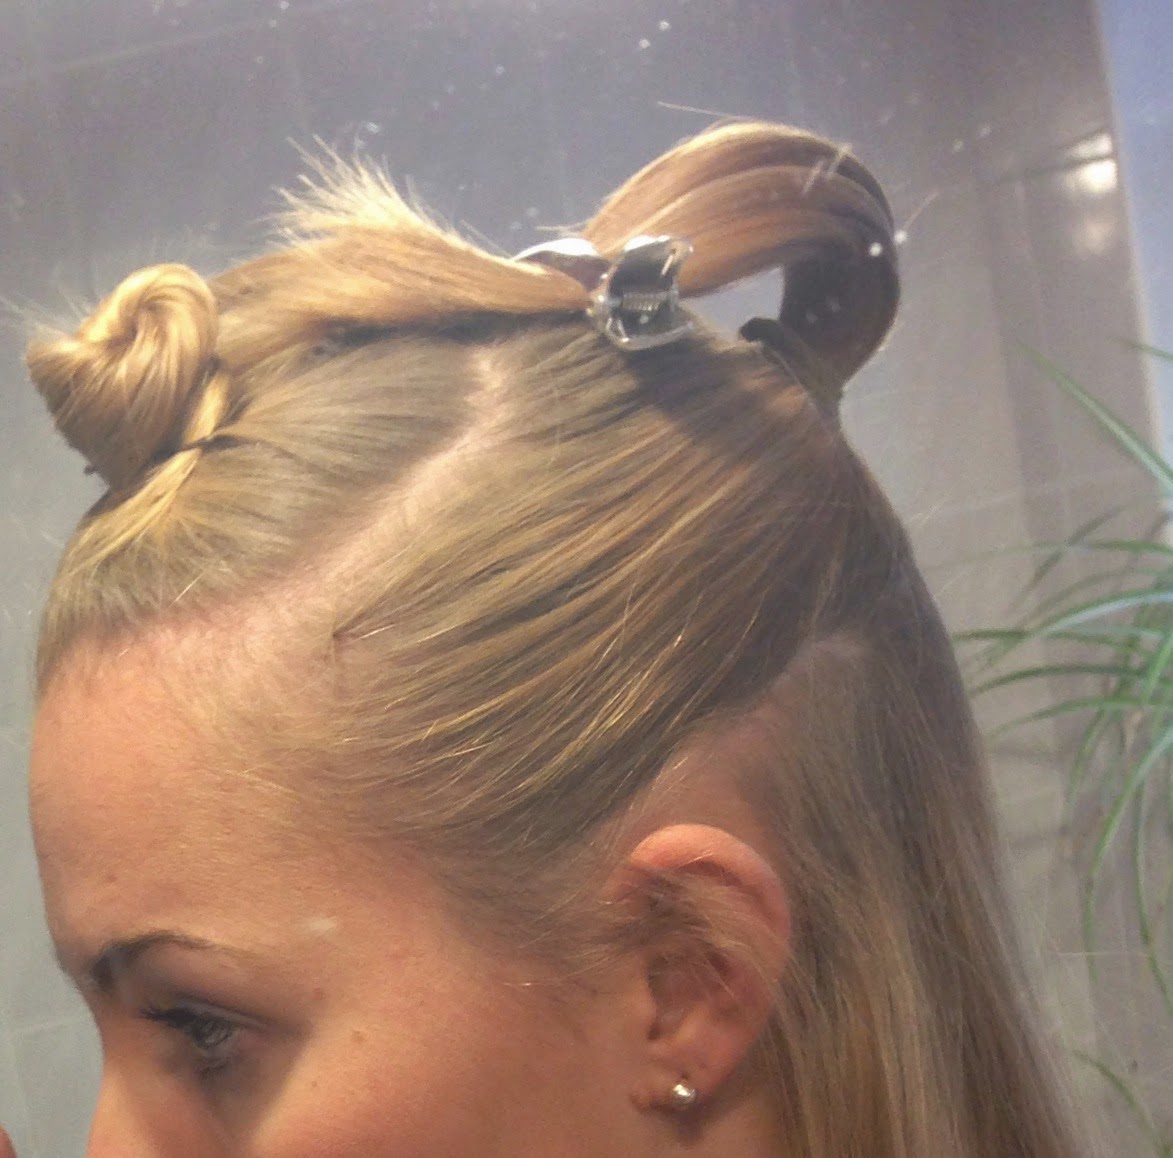
I divided my hair into three sections to make the dyeing process more manageable. The hair on the top of our heads is the most porous and on most people the lightest, so you want to tackle this section last. The underside of the hair should be darkest so this third should be done first and left on the longest. The hair is tied up to divide between 'roots' and 'ends'. More on that later...
3. Step 3 - All in the timing
 I started with loading up colour on the bottom third, but only near the roots to start with. I wanted to keep some of the lightness in my hair and naturally the lightest parts of our hair are the tips (which lighten over time due to the sun). So on each of the three sections I only put the dye on until about half-way down the hair. It's easy to do this on the bottom third and the ponytail/bun on sections 2 and 1 mean you keep the bottom section 'clean' and out the way of the dye. You do the bottom third, then the middle third and then the top third (the half nearest the roots) in that order all within the first ten minutes.
4. Further coverage
In the next ten minutes you take the dye and beginning smoothing out further towards the tips - still keeping some of the areas of hair dry. For the bottom section this is pretty straight forward, but for the middle sections you will need to unfasten the ponytail and bun to get that dye further down the hairshaft. When you massage into the top section (leaving the tips dry) you will look like you are balding. I panicked all my hair was shedding but it was just a rather worrying illusion! This will take another 10 minutes.
5. The last five minutes!
In the last five minutes you take the remaining dye and slowly blend down the hair. You will cover the last cms of the tips seconds before you crank the shower on to shampoo and rinse.
The finished result is a natural look from a dye job to correct a natural lightening which looked like a dye job! God being a girl is complicated.
As the final pictures illustrates taking the time to divide sections and applying the dye at different times creates lots of different shades - but uses just one simple hair dye. You can also see the sections of hair that have been left until last retain that platinum lightness.


Get the 2.Oh! Lightning Kit, featuring Ultra Lift Powder and 20 Volume Developer for fast, balanced at-home lightening. Checkout At Home Hair Bleach Kit - Powder & Developer Thank you
ReplyDelete